
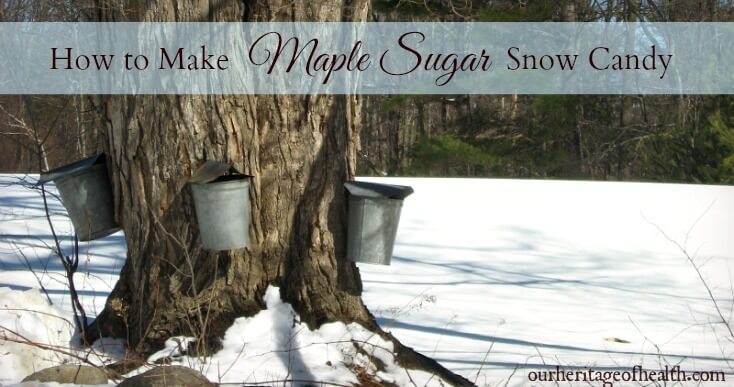
We finally had a half-decent snowstorm here in MA, so I decided it was time for something I’ve been waiting for months to try – making maple sugar snow candy! I know it’s technically not quite maple sugaring season yet, but I just couldn’t wait any longer.
I had tried making maple sugar snow candy once before, but my maple sugar wasn’t the right temperature so it didn’t turn out well. This time, though, I did some research to find out the correct way to boil the syrup, and I found some great information from a site called Quaker Hill Farm.
Their website describes how to make the maple sugar snow candy the old-fashioned way, and they tell you how to know when the sugar is done without needing a candy thermometer so you can do it the more authentic way.
The whole process was really very simple, and it only took about fifteen minutes to go from plain maple syrup to delicious maple snow candy. You only need two ingredients to make the candy – maple syrup and fresh snow.
I used a combination of grade B and grade A dark amber, because that’s what I had on hand, but I’ve read that grade A can be a little easier to work with when heating to make candy than grade B can. (Update 7/13/20: Since I originally wrote this post, maple syrup grading has changed and they don’t call the darker syrup grade B anymore. So if you have it, the lighter grade A syrups would be preferable for the darker grade A syrups.)
How to Boil the Syrup
The part that gets a little tricky is boiling the syrup to the right temperature and consistency. First little bubbles start to form, and then the whole surface gets frothy. You definitely want to make sure the pot is big enough so that the syrup won’t boil over. Mine came pretty close, and that would have been a huge sticky mess to clean up!
You also need to watch the syrup closely while it’s boiling. Once it starts to heat up, it goes through the stages pretty quickly, so you don’t want to get distracted doing something else and then forget about your syrup.
You’ll know the syrup is hot enough when the foam starts to look smoother and almost glassy. Here are a couple pictures of the different stages:
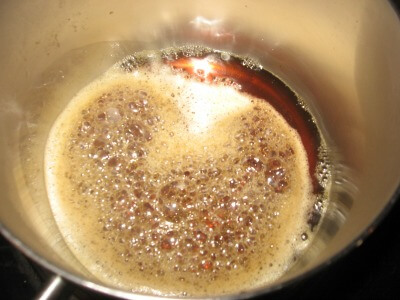
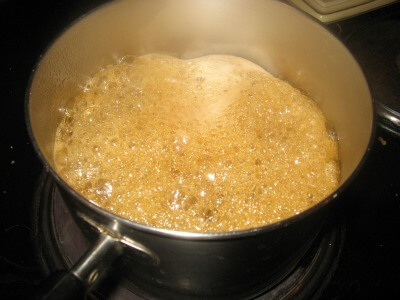
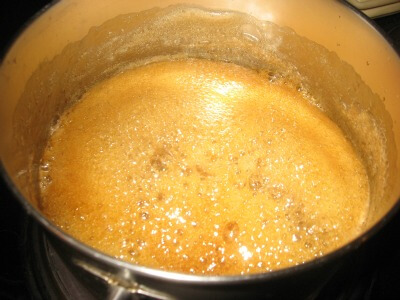
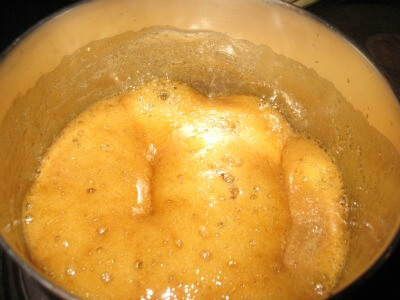
Once the syrup has reached this smooth, glassy stage, it’s ready to pour over the snow. Before I had started the syrup boiling, I had taken a bowl outside and filled it with freshly fallen snow and then put it in the fridge so it wouldn’t melt too much while I was waiting for the syrup to boil.
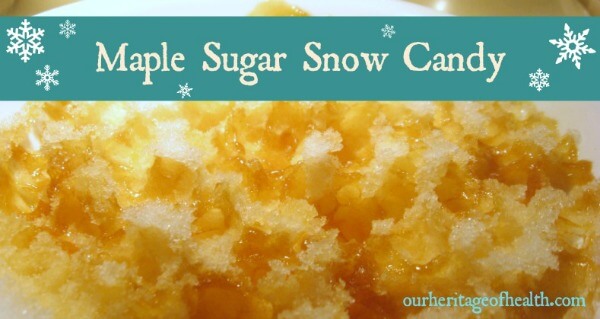
To make the maple snow candy, I just drizzled the syrup over the snow. The boiling syrup cools down so quickly that you only have to wait a few seconds before you can pick it up and eat it.
The Finished Product
If you eat it right away, it has a chewy, taffy-like texture, but if you let it sit on the snow for longer, it kind of melts into the snow.
I tried it both ways, and both were absolutely delicious! The maple candy I ate right away was like maple taffy, and the part that I let melt into the snow was like a maple-flavored snow cone or slushie. Either way, you really can’t go wrong with something as delicious as maple syrup 🙂
[socialpug_share]

OK, I found out how to do the border with Picmonkey! I’m so non-techy ~ eek!
Also, I’m not going to use the photos…the post didn’t come together the way I thought it would! Thank you for allowing me to process with you :0
Blessings!
Hi Jacqueline,
I’m glad you were able to figure out the border! It took me a while to figure out everything with Picmonkey. I’m definitely non-techy too, so everything is trial and error with me 🙂
Lori,
Hello!
I love your blog and found you trying to learn more about making maple sugar snow candy. I have already gotten the post almost done (with the same title) :)Would you be OK with me using 2 photos of the boiling stages with a link back to this post? Also, which photo editing pkg. do you use? I use Picmonkey, but don’t think I could do anything like the lay-on for the Dark Chocolate Maple Cream Truffles (oval with turquoise vintage edgework). I could be missing something. Very pretty. Thank you!